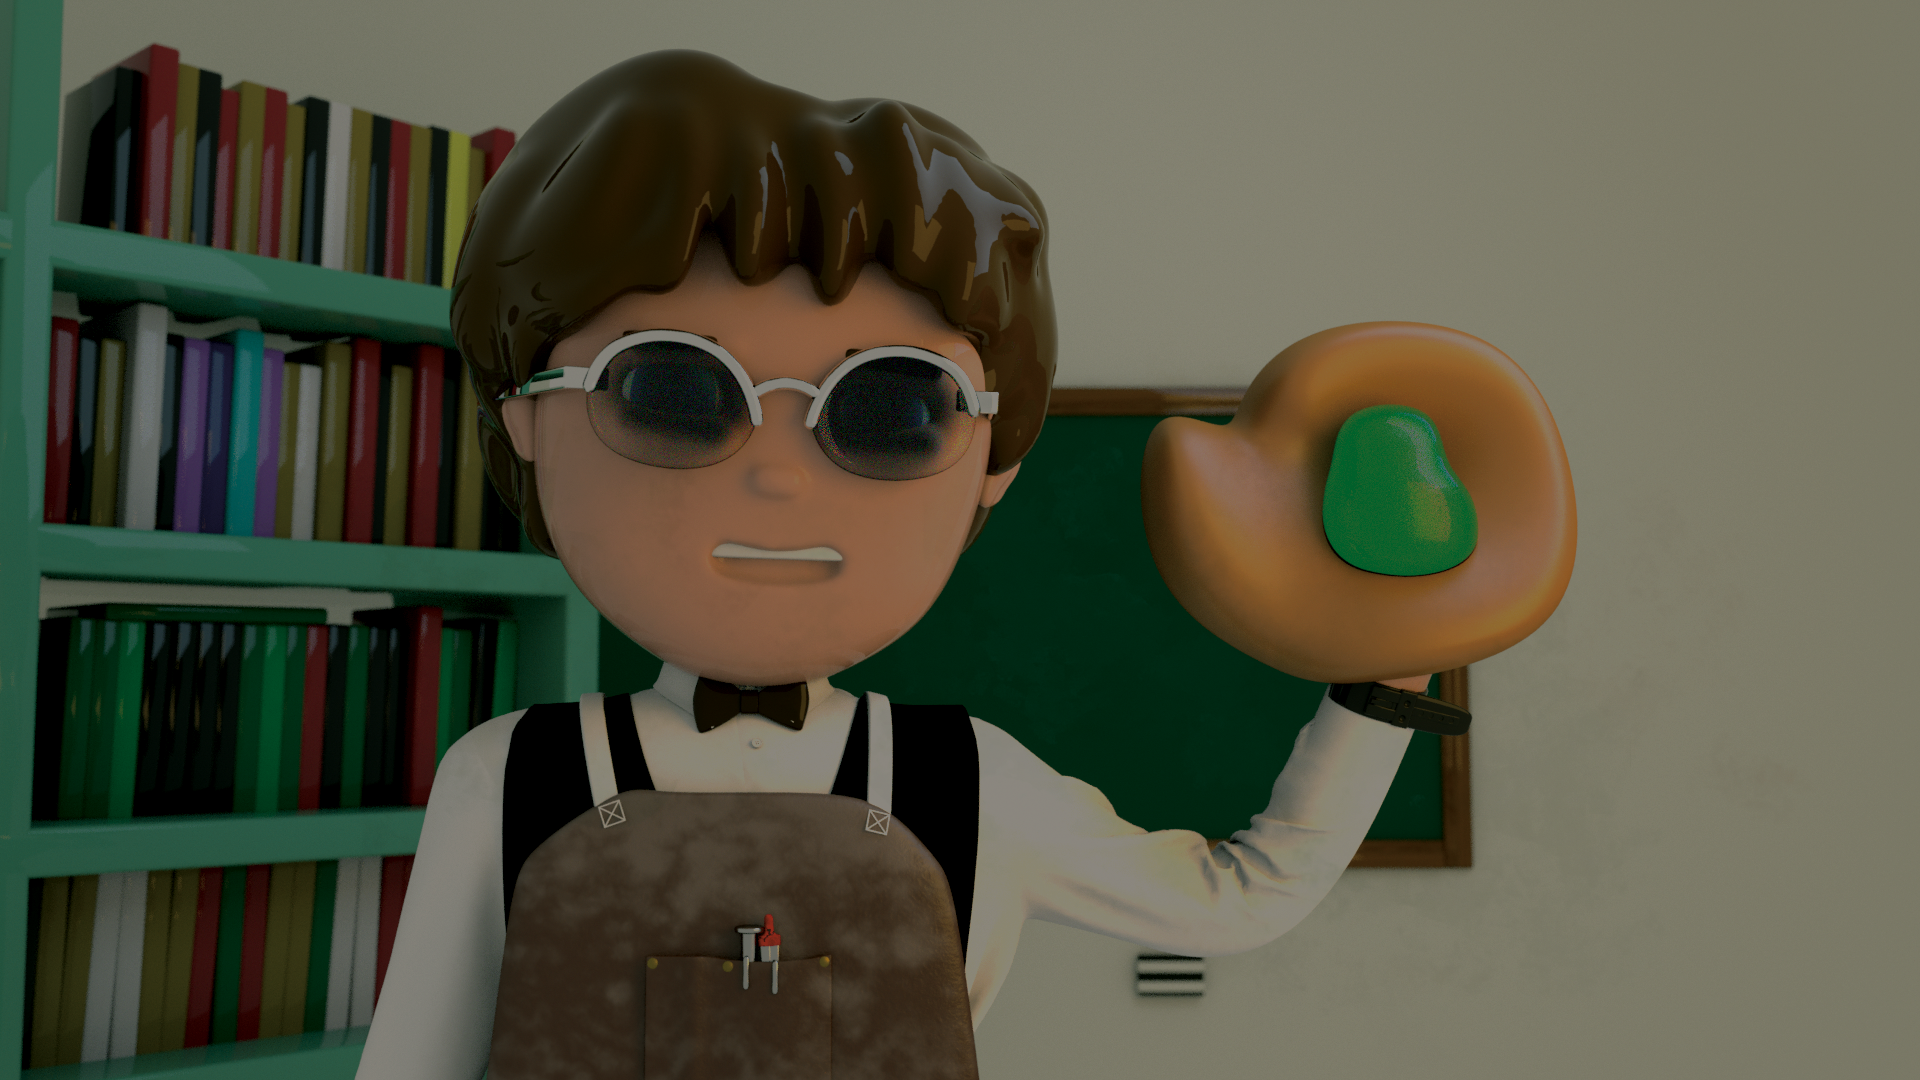
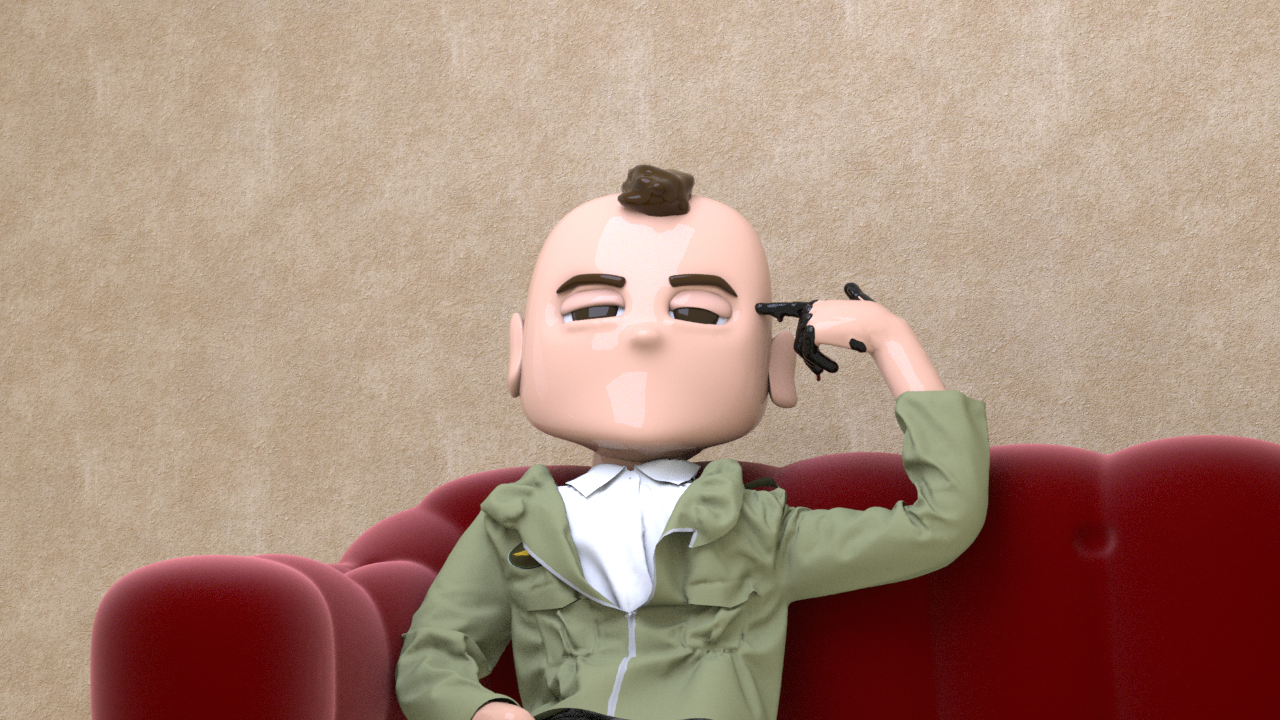
Process from reference to modeling, creating clothing, rendering and to the final edit. I aimed to match the lighting to highlight the areas it does within the film's shot, being under his cheeks, chin and on his forehead. After positioning the camera and rendering, I further edited the piece by colour grading, additional painting and applying burned shadows in areas inspired by the reference imagery.
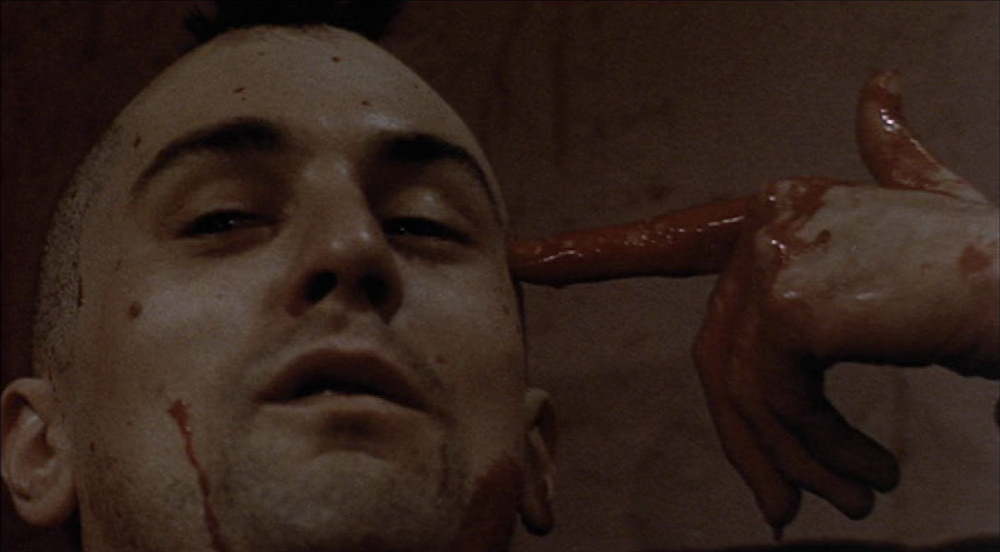
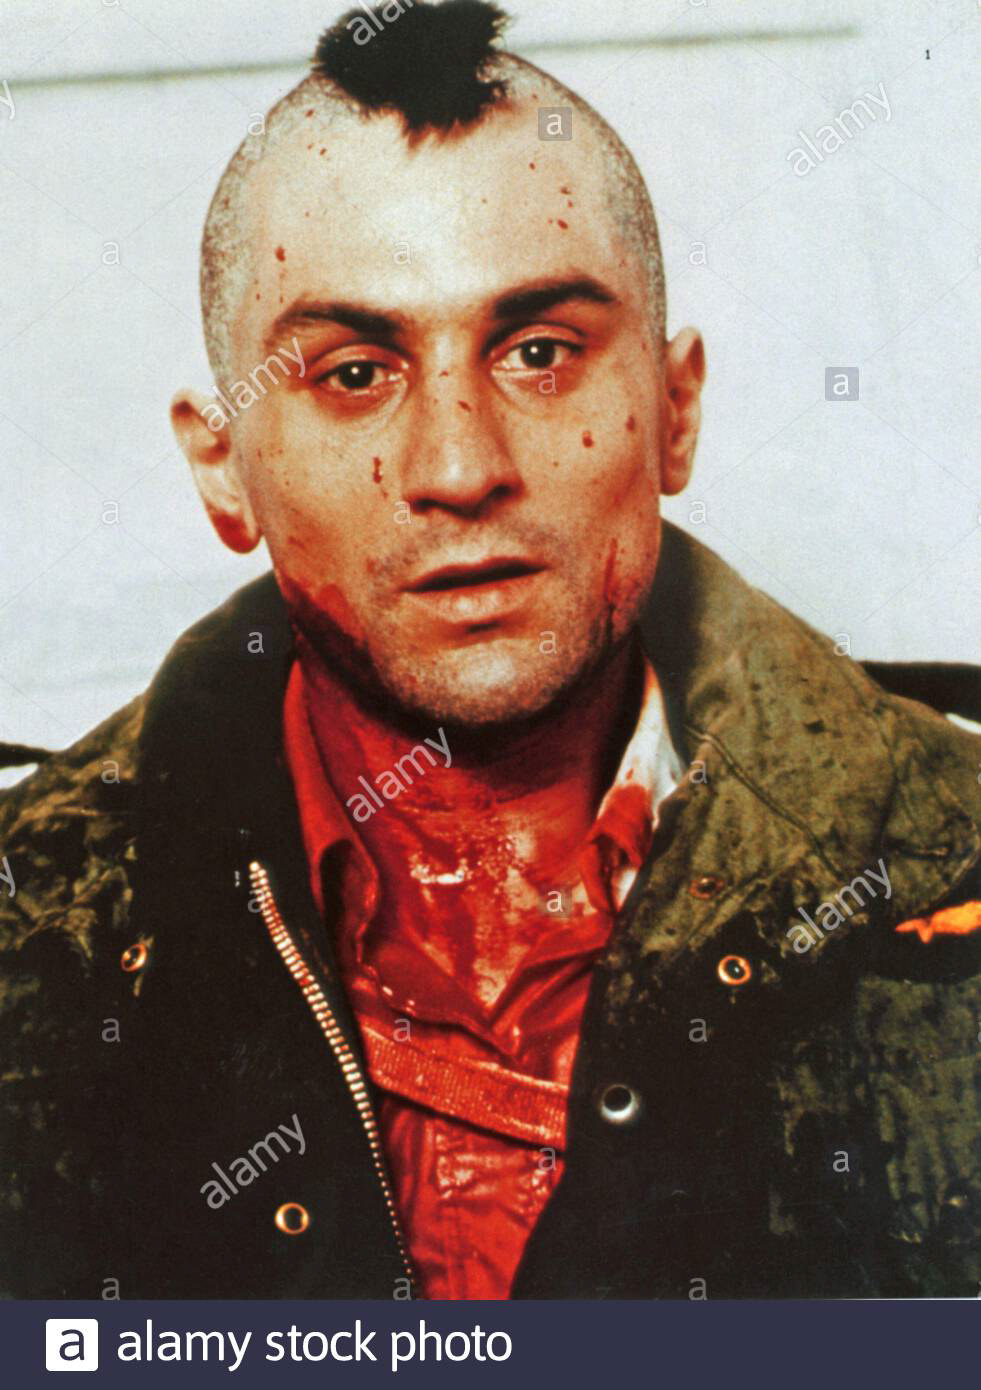

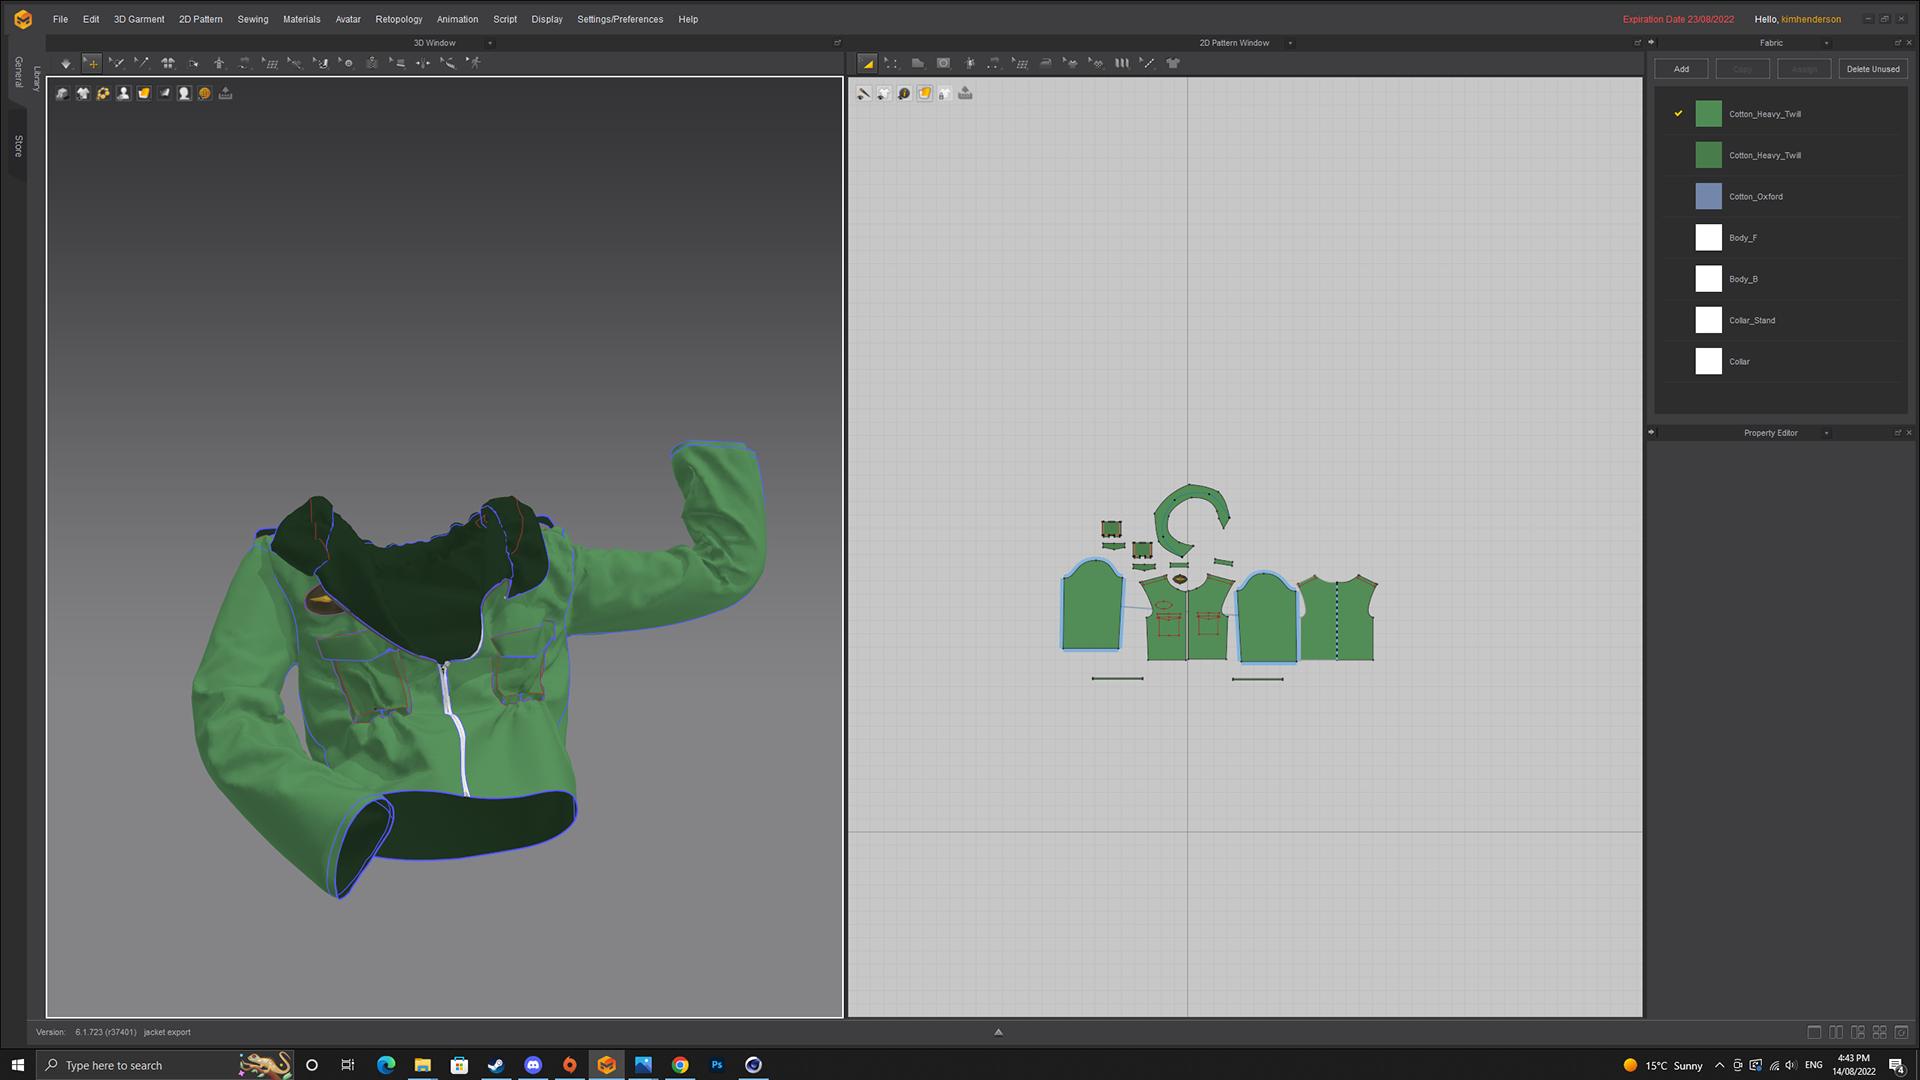
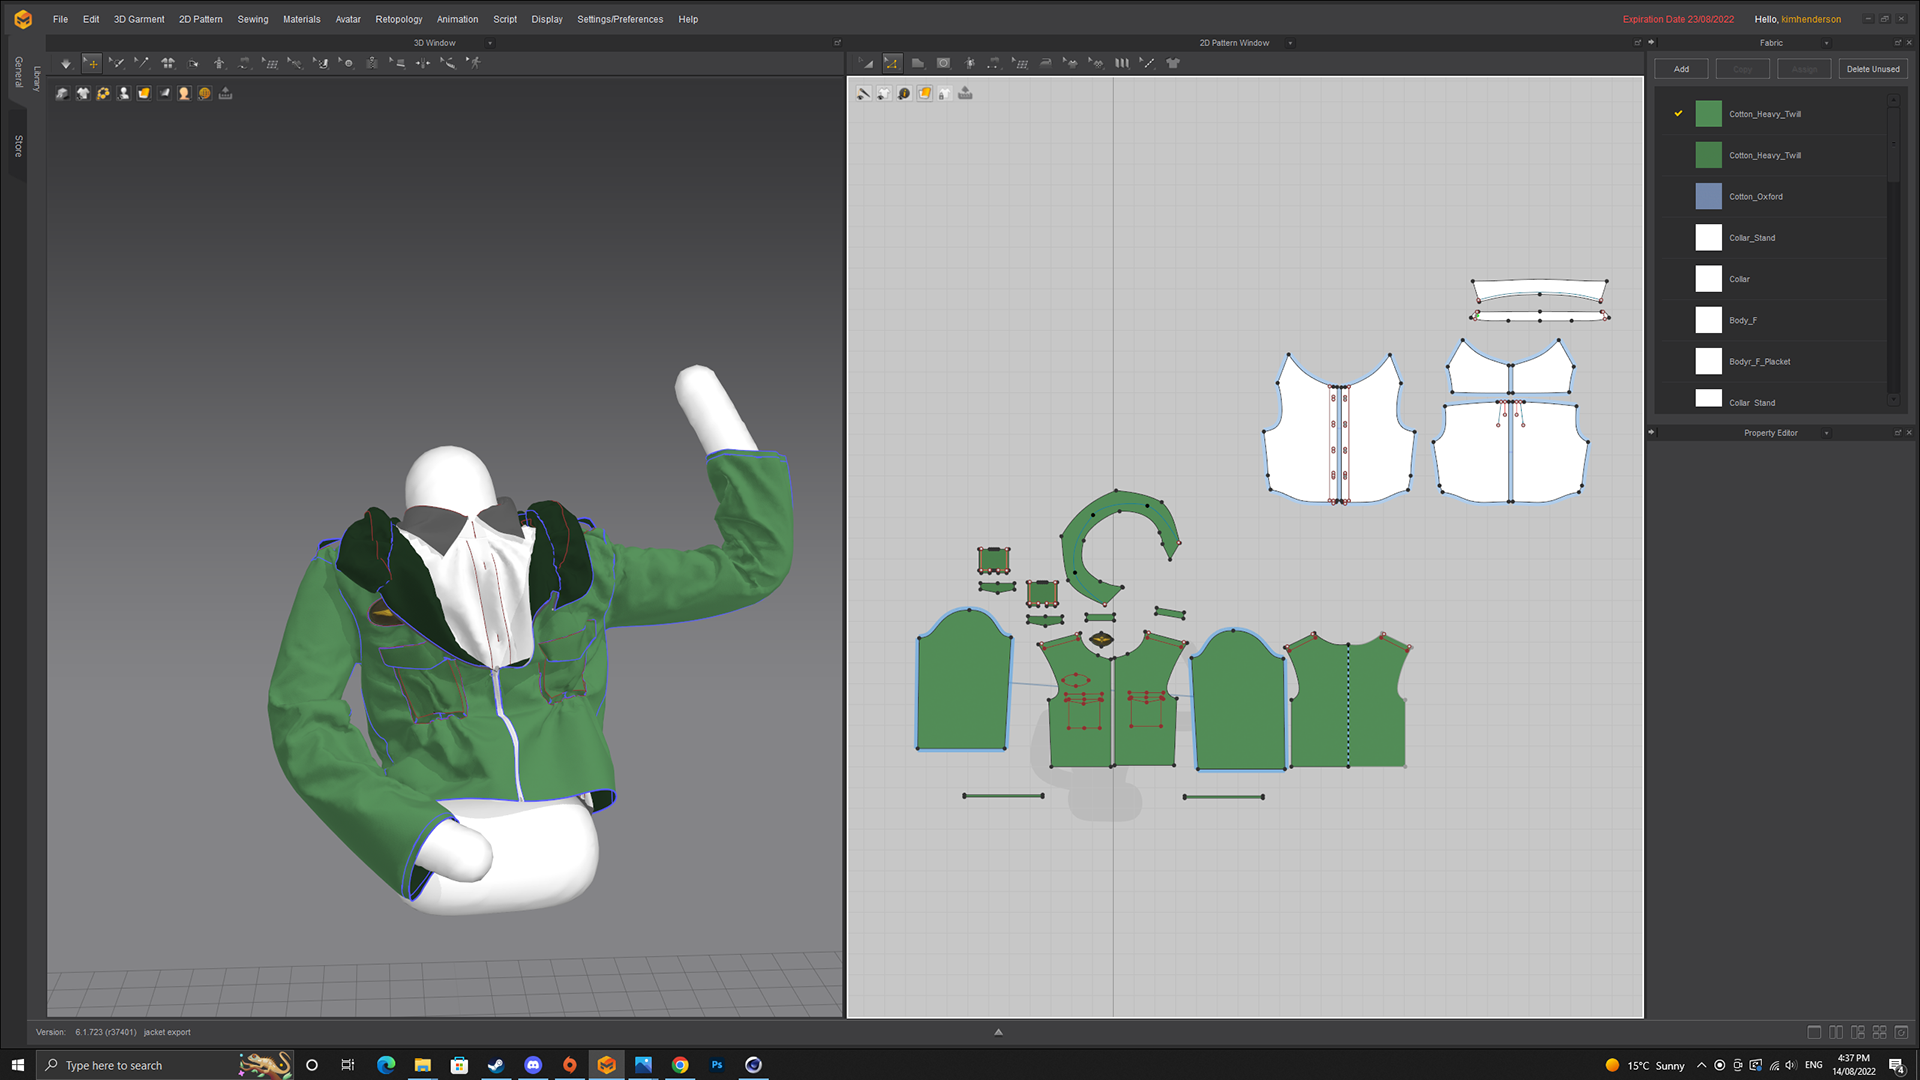

For me, the biggest takeaway I learnt from this piece was the clothing in Marvelous Designer. I learnt how to digitally create and sew a jacket which involved creating a collar, pockets, a zipper, shoulder straps and an added patch.
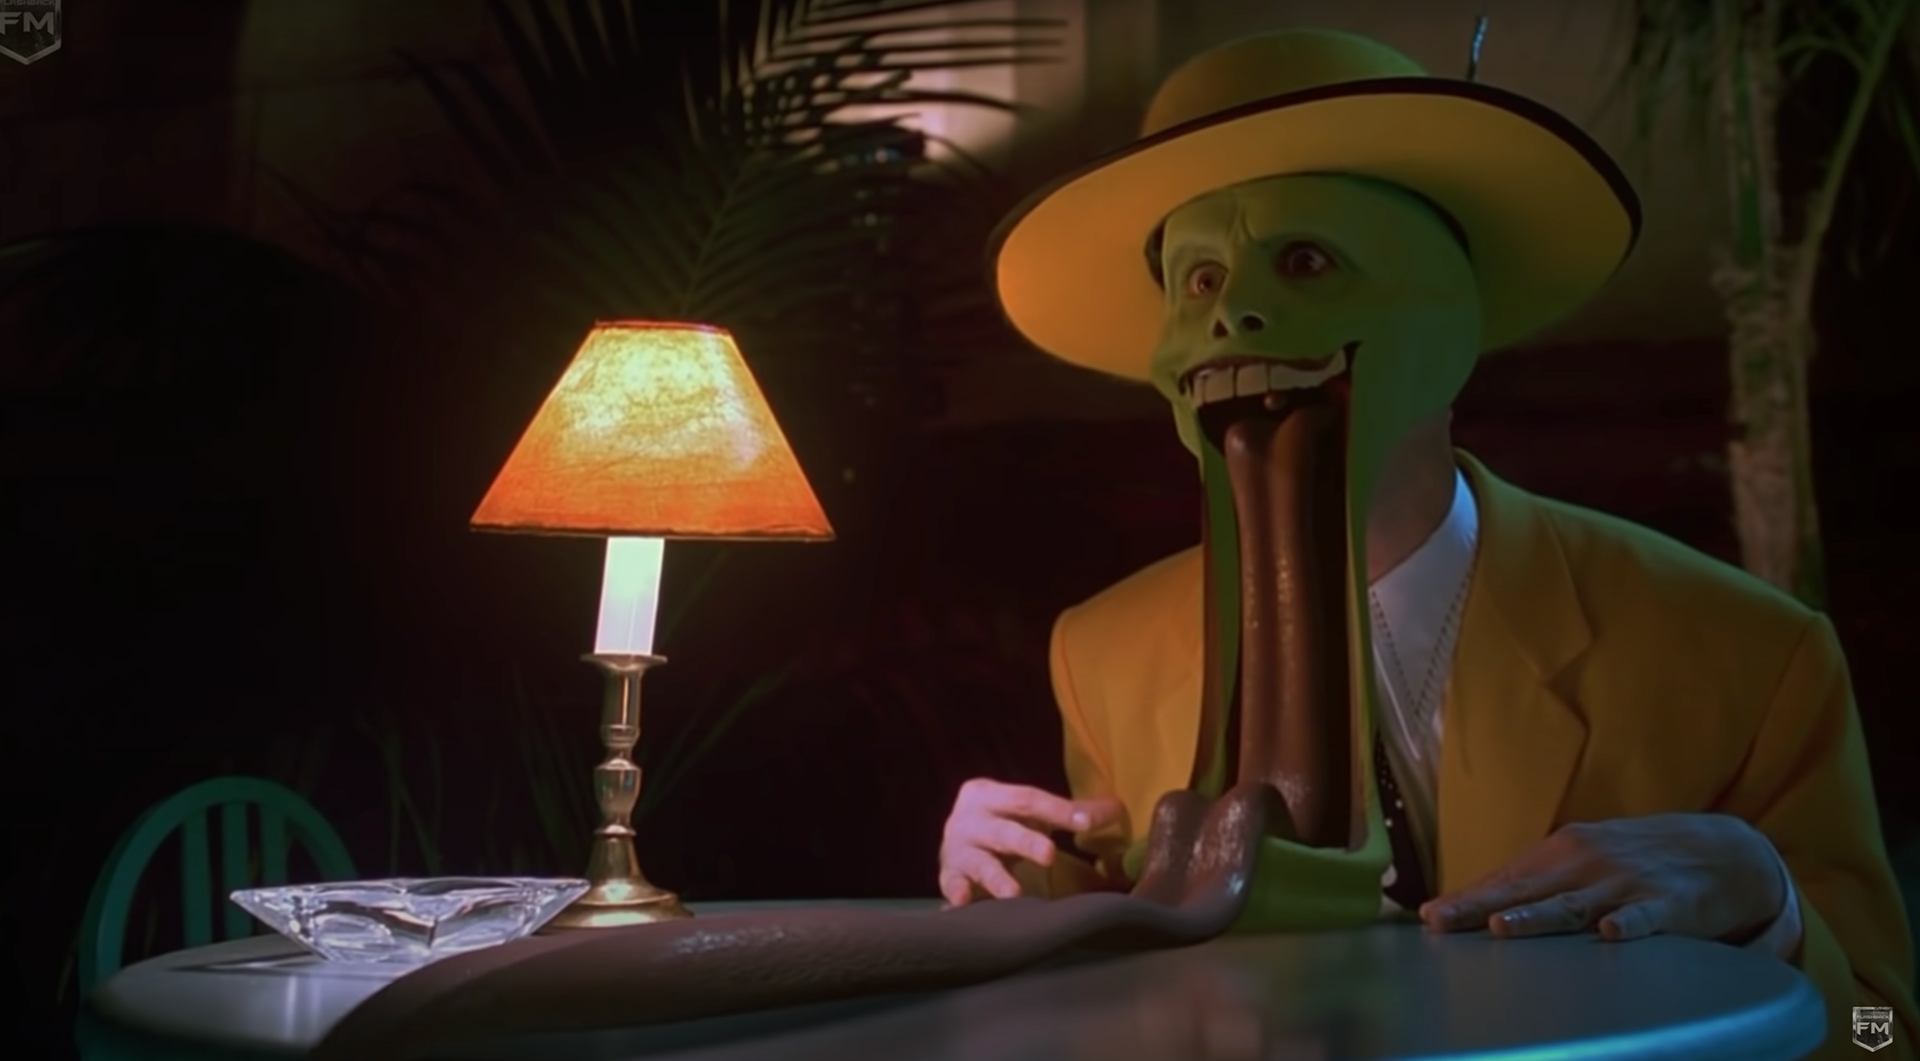
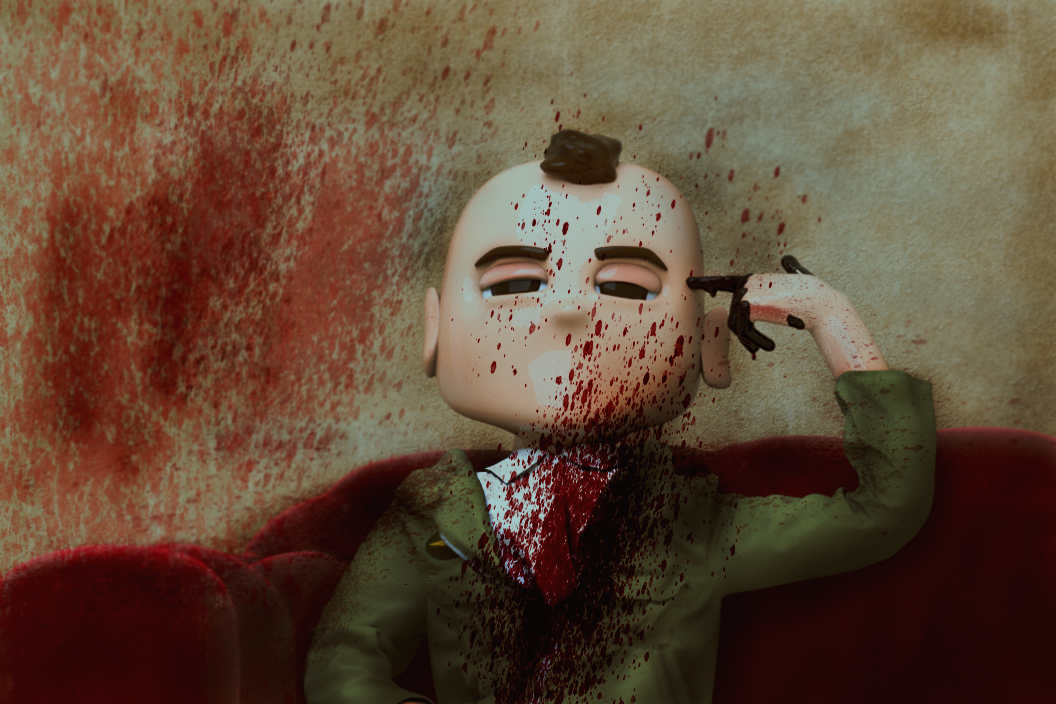
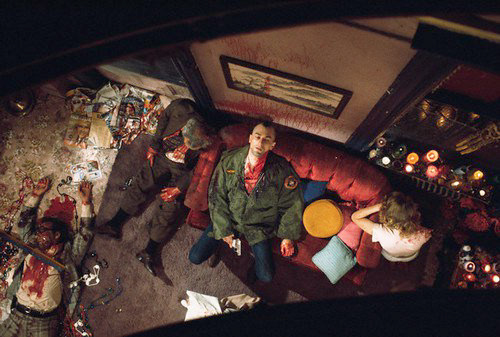
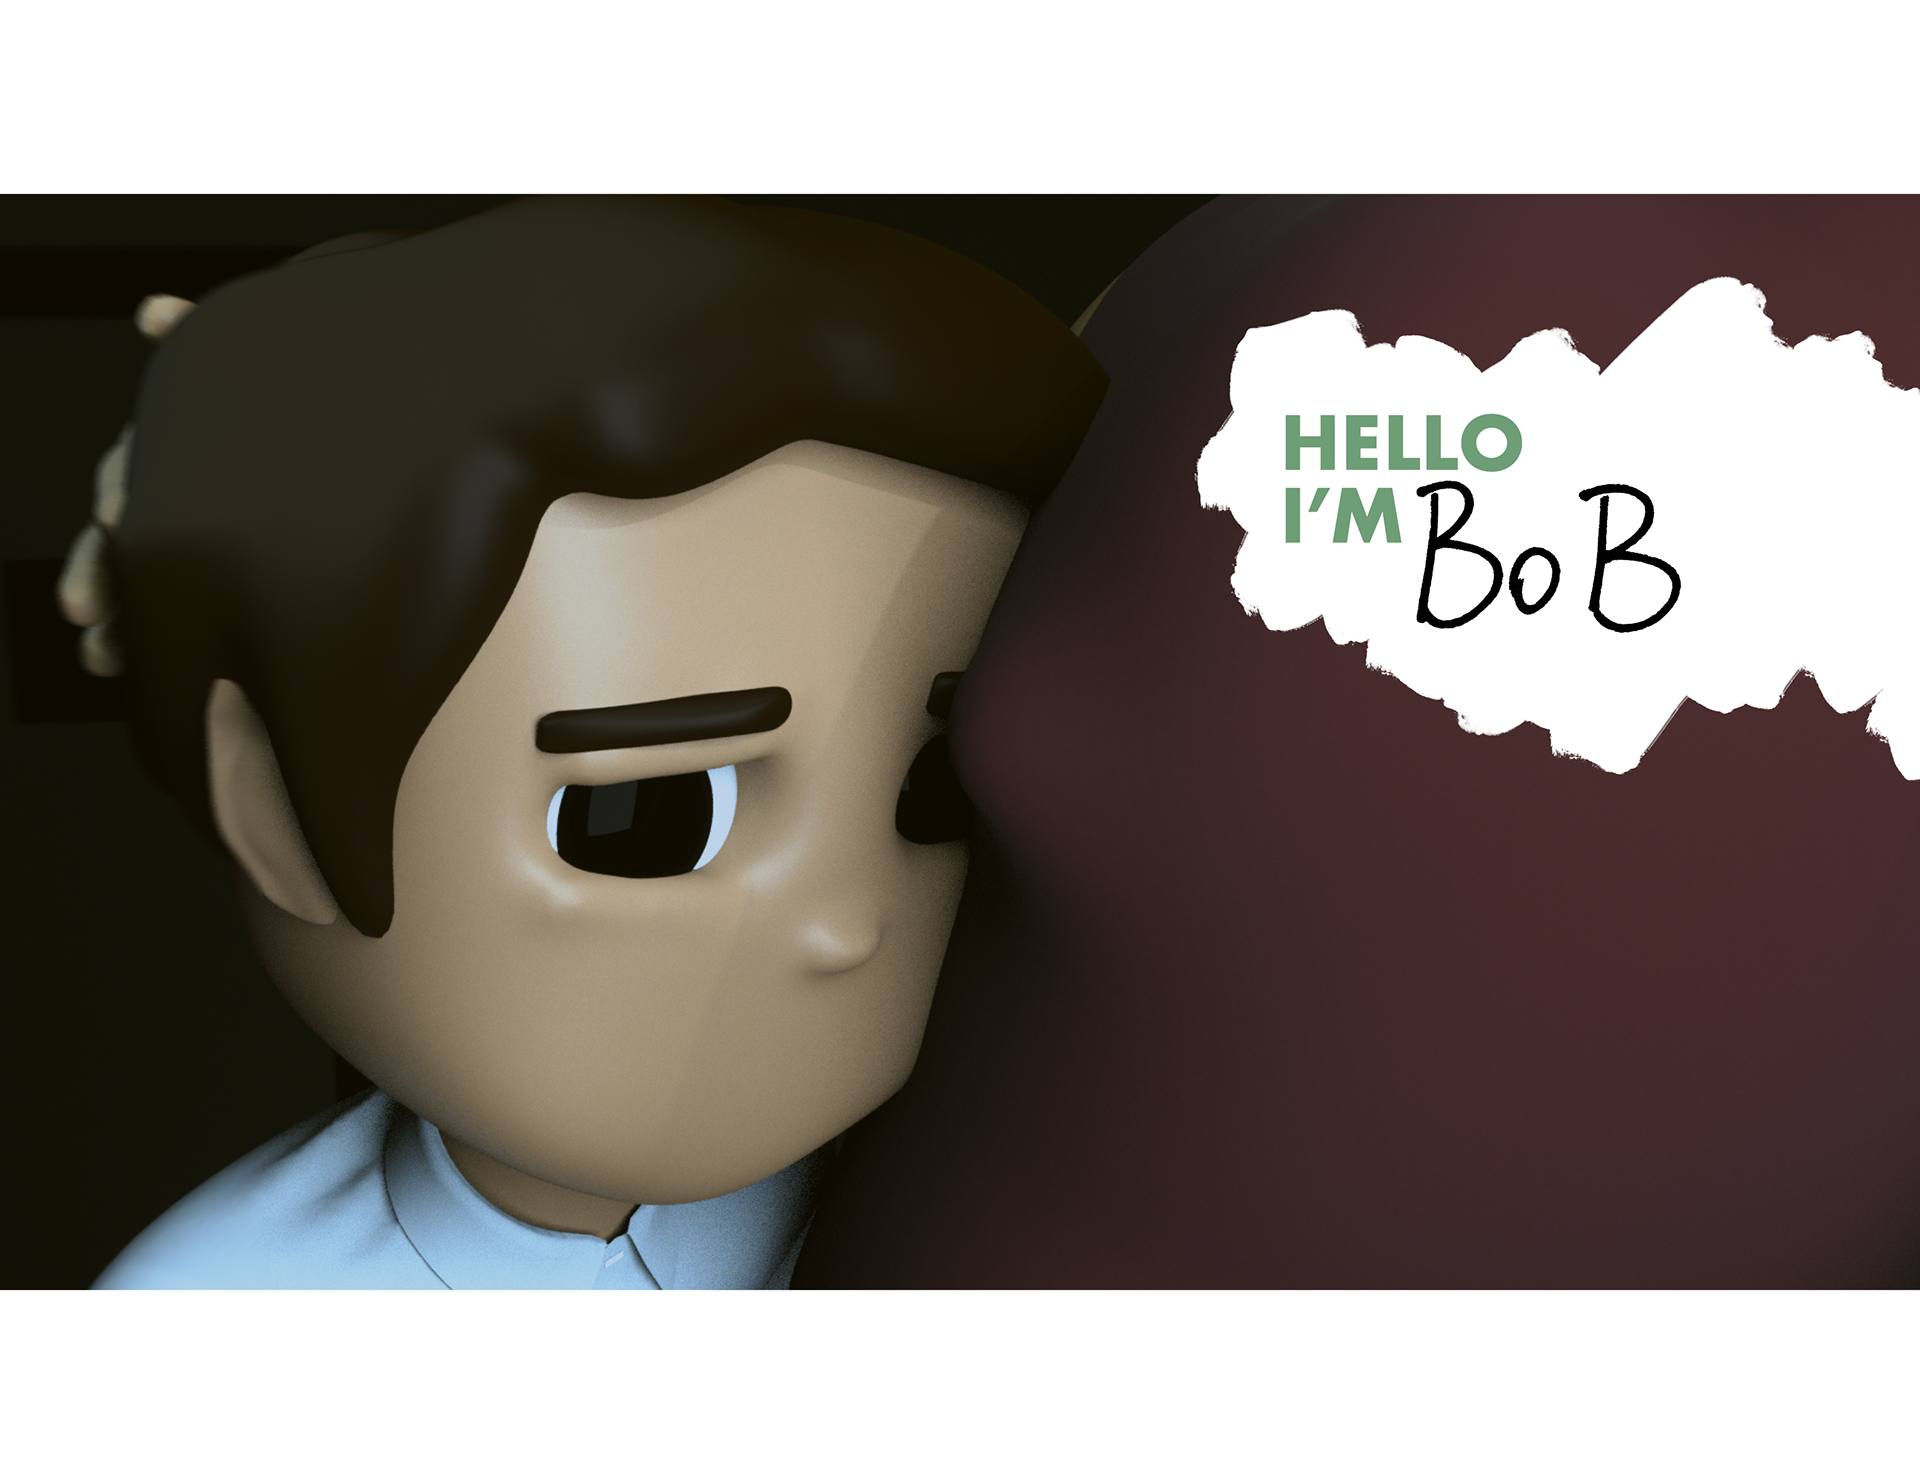
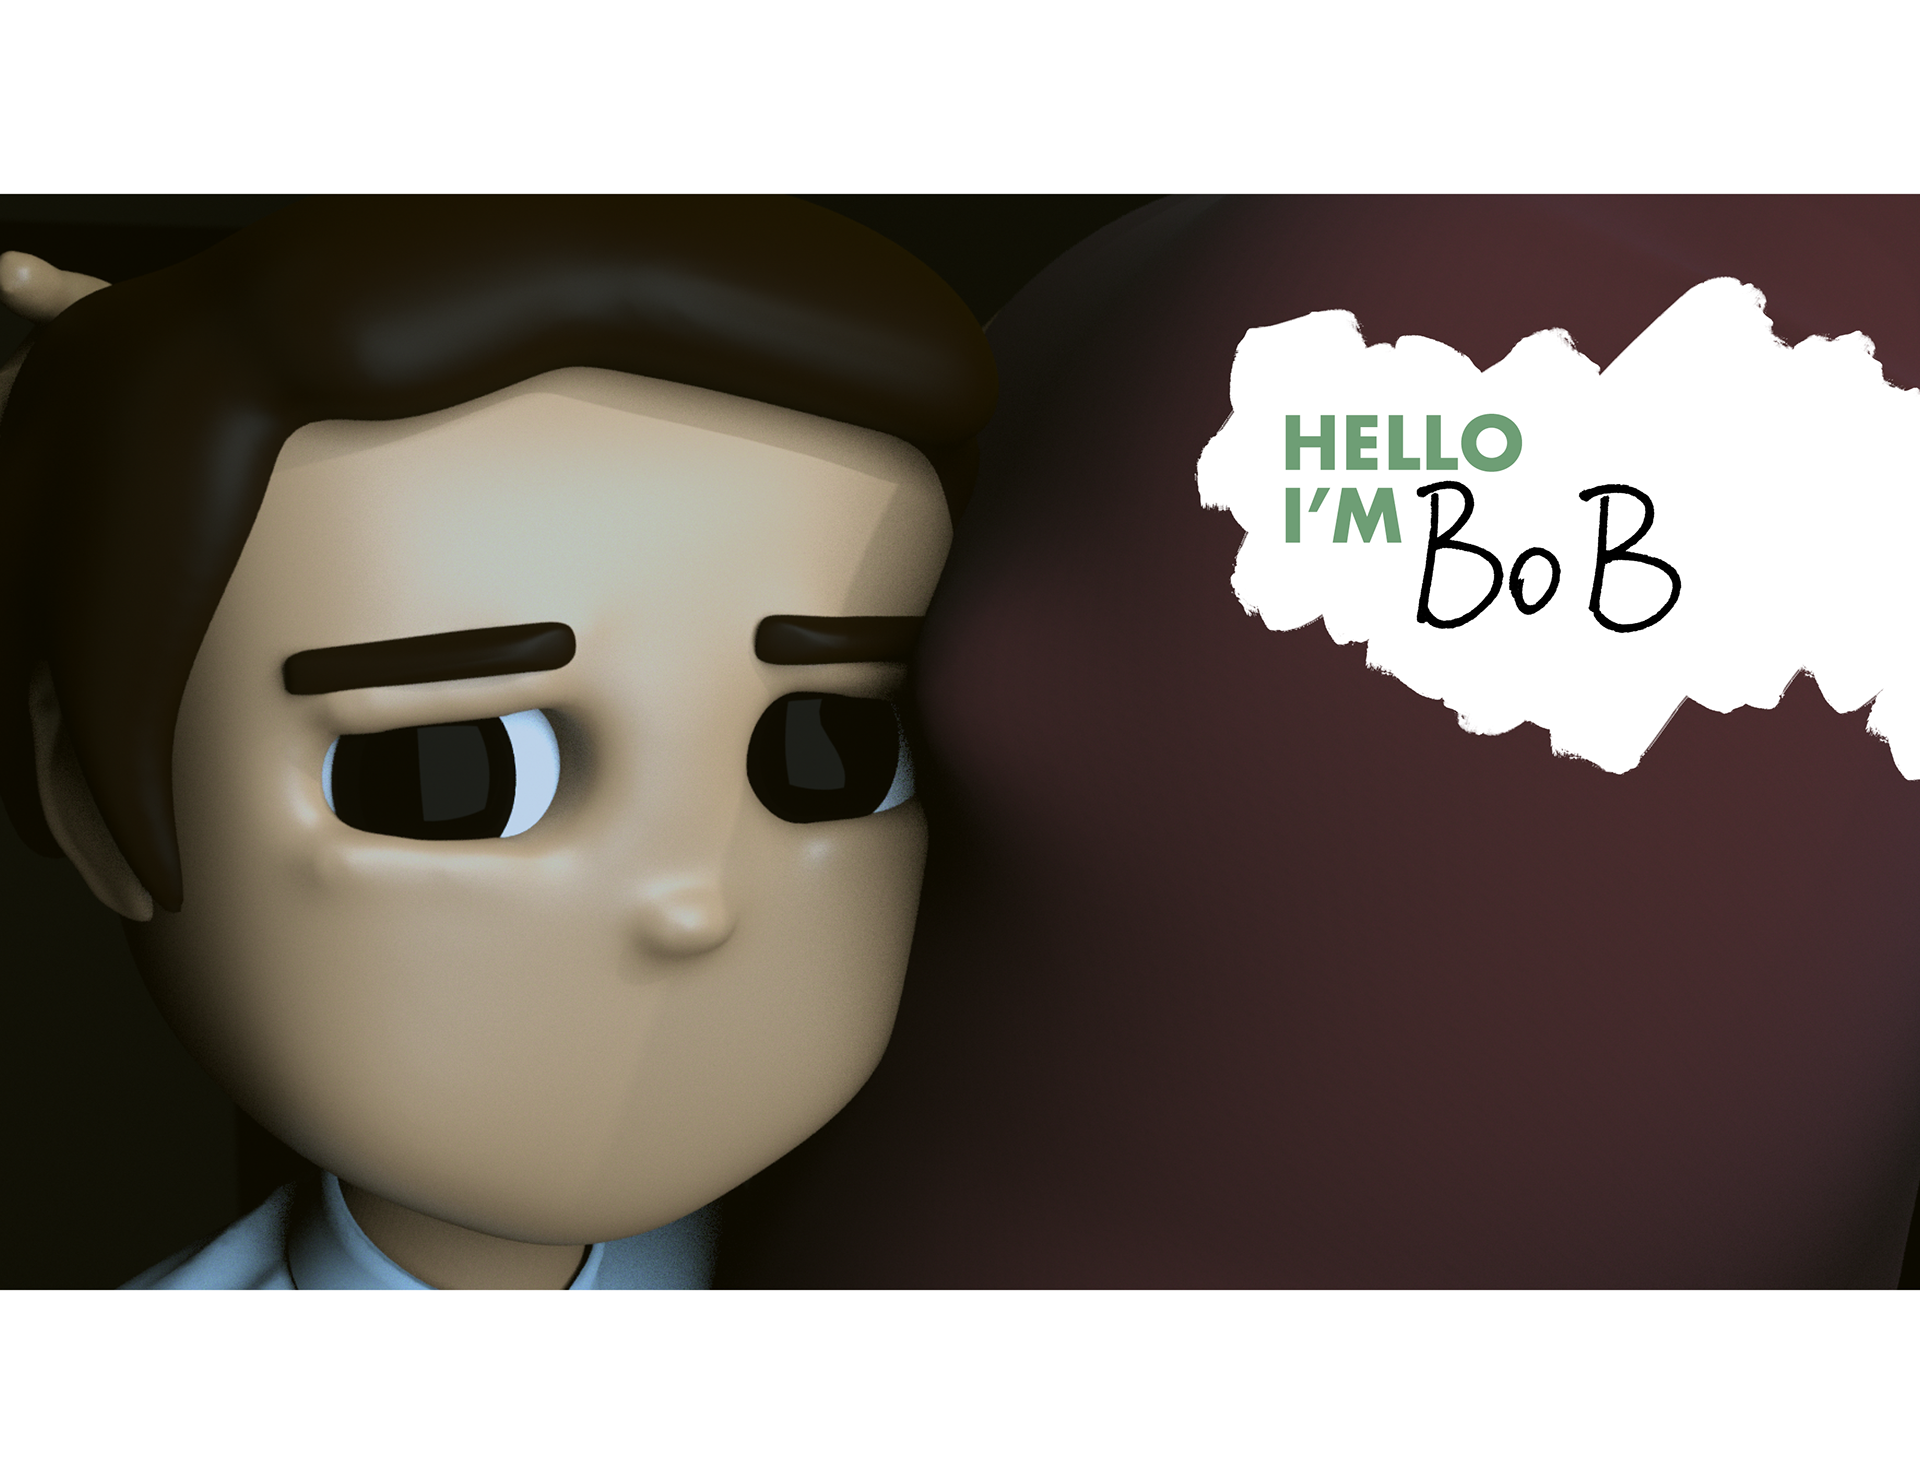
For this Fight Club piece, my goal was to explore ways to combine typography and create a video from two images in which relate to the tone of the referenced scene from the film.
To do so, I modeled and framed the characters with textures, lighting and use of depth of field. I pulled the typography to be referenced by the character's name tag sticker by creating a digital version of his name tag. As Bob's name is hand written in the film, I followed this approach by writing his name with a sharpie and scanning the letters to become a digital version. I edited the two images into a video capturing the feel of Bob's "bitch tit's" scene by making the transition feel like a jump cut. I approached this by flashing the two together with a black screen as if it were a flickering light.

Hand drawn with sharpie

Digitalised version in photoshop
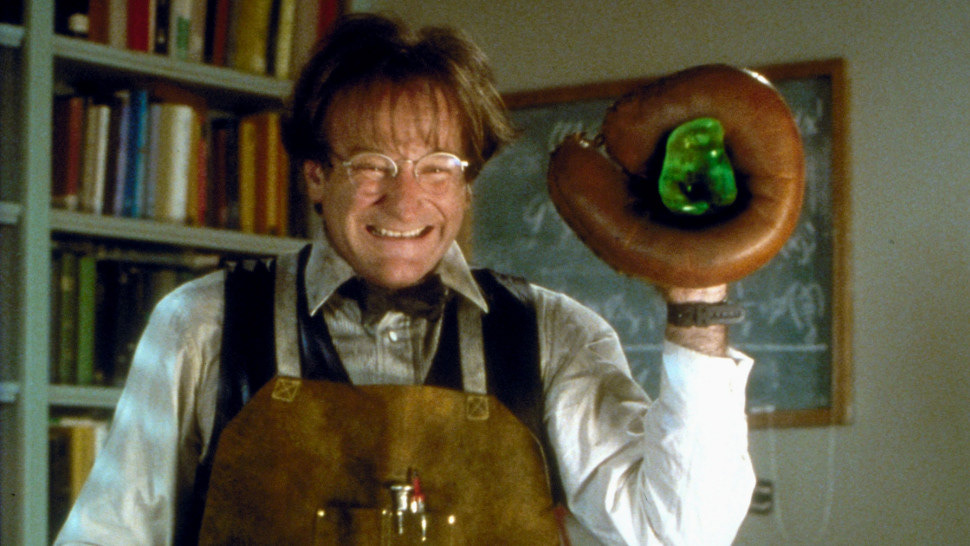
The following two pieces of Flubber and The Mask were crated to explore modeling shapes from reference and apply lighting techniques from reference.